How to burn dicom images to CD or DVD
STEP 1 - FINISH Dcm Burner Config
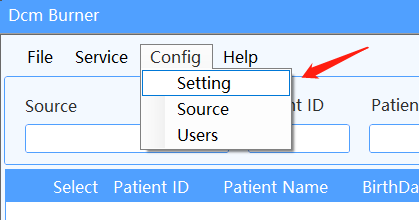
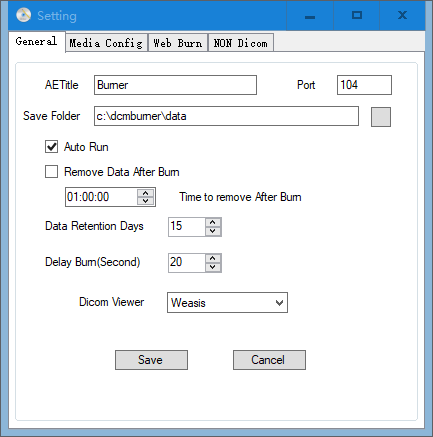
1. Setup AETitle And Port.
Choose Config menu, select the Setting module, Choose General Option,And Input AETitle and Port,Then Click Save Button.Default AETitle is Burner,and Default Port is 104.
2.Burner Media Config
Choose Config menu, select the Setting module, Choose Media Config Option,And Choose Media Target To EPSON CD or EPSON DVD for Burn Media as Default.
Select Job Folder Path which Burn Job Data to Save.
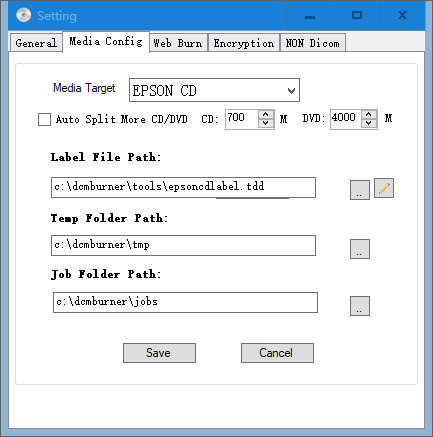
Notice:Job Folder Path Must Same with Epson TDBridge watch folder,Default is C:\dcmburner\jobs
STEP 2 - Epson Disc Robot Settings
DcmBurner Epson Disc Robot Settings
STEP 3 - Source Config
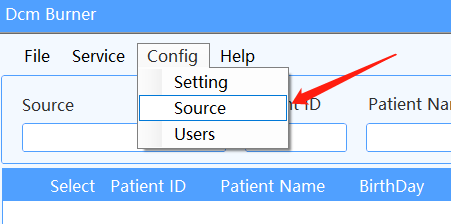
1.Add Pacs Source
Taking dcm4chee-arc as an example.Choose Config menu of DcmBurner software, choose Source.
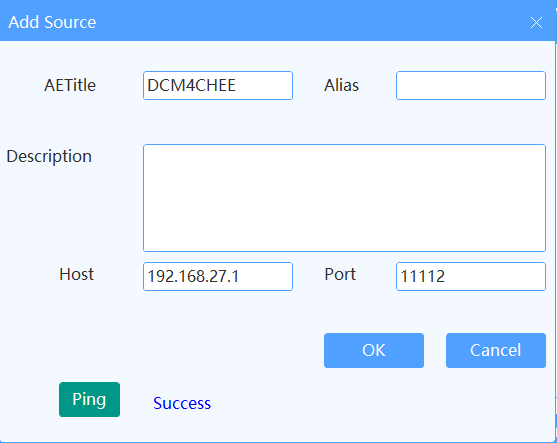
Click Add Source. Enter the IP address, AETitle, and port number of the computer where dcm4chee-arc is located. After adding, you can click the Ping button to test if the communication is normal, then click OK to save.
2.Add Dcm Burner's IP,AETitle and Port in Pacs or Modality
Taking dcm4chee-arc as an example.
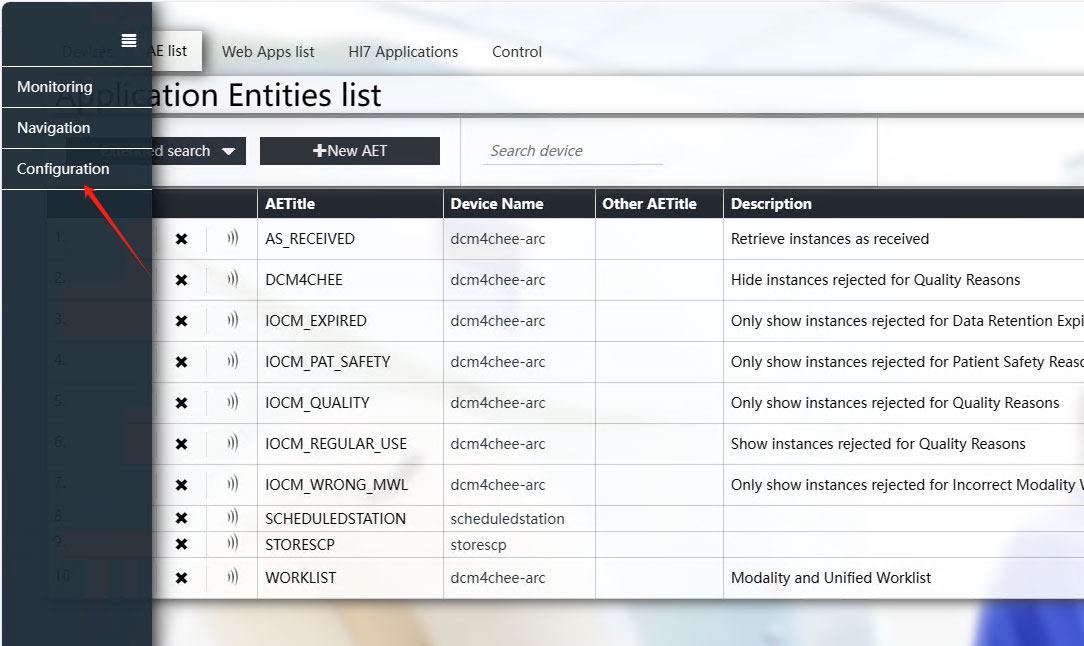
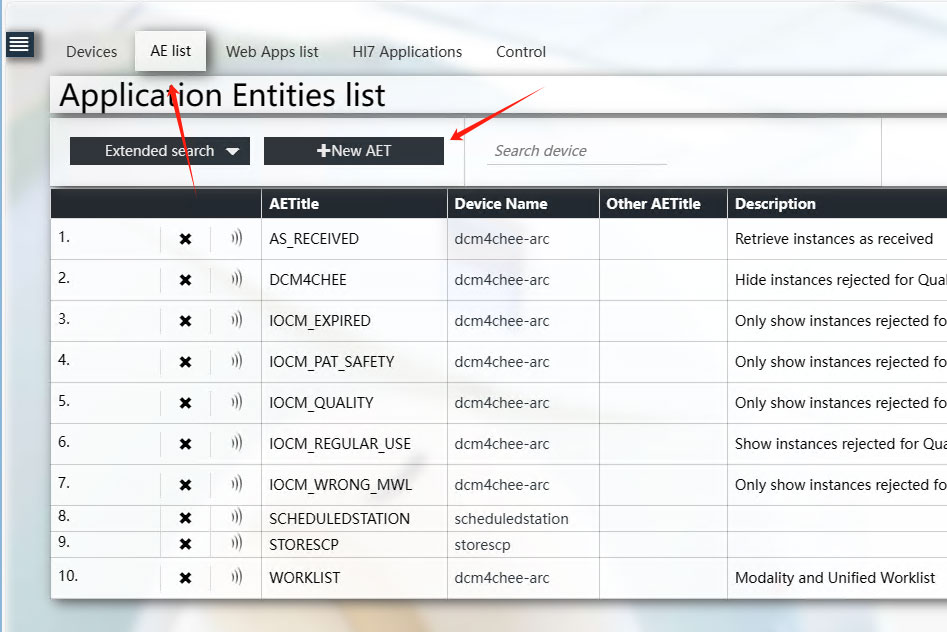
Open the dcm4chee-arc web control panel, select Configuration in the left menu, then Choose AE List Option.
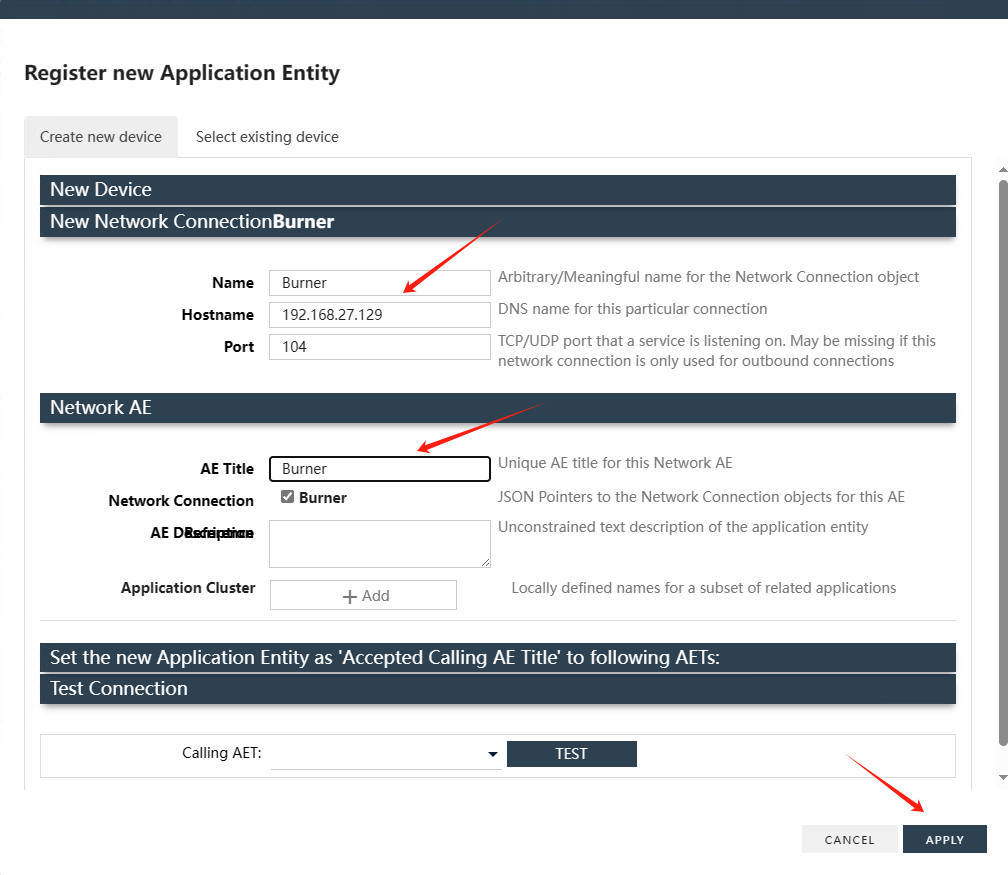
Click New AET to create settings. Enter the IP address of the computer where Dcm Burner is located.
Adjust these settings based on the actual values set in Dcm Burner. After adding, save the settings.
If you are using another PACS system, adjust the AE Title or set the CStore SCP information to correspond with Dcm Burner.
STEP 4 - Query and Burn
1.Return to the main interface of Dcm Burner. In the Source dropdown, select the newly added DCM4CHEE.
Study Date is today's date. To search for other dates, select from the dropdown or choose Any Day to search all dates.
After setting the search criteria, click the Search button.
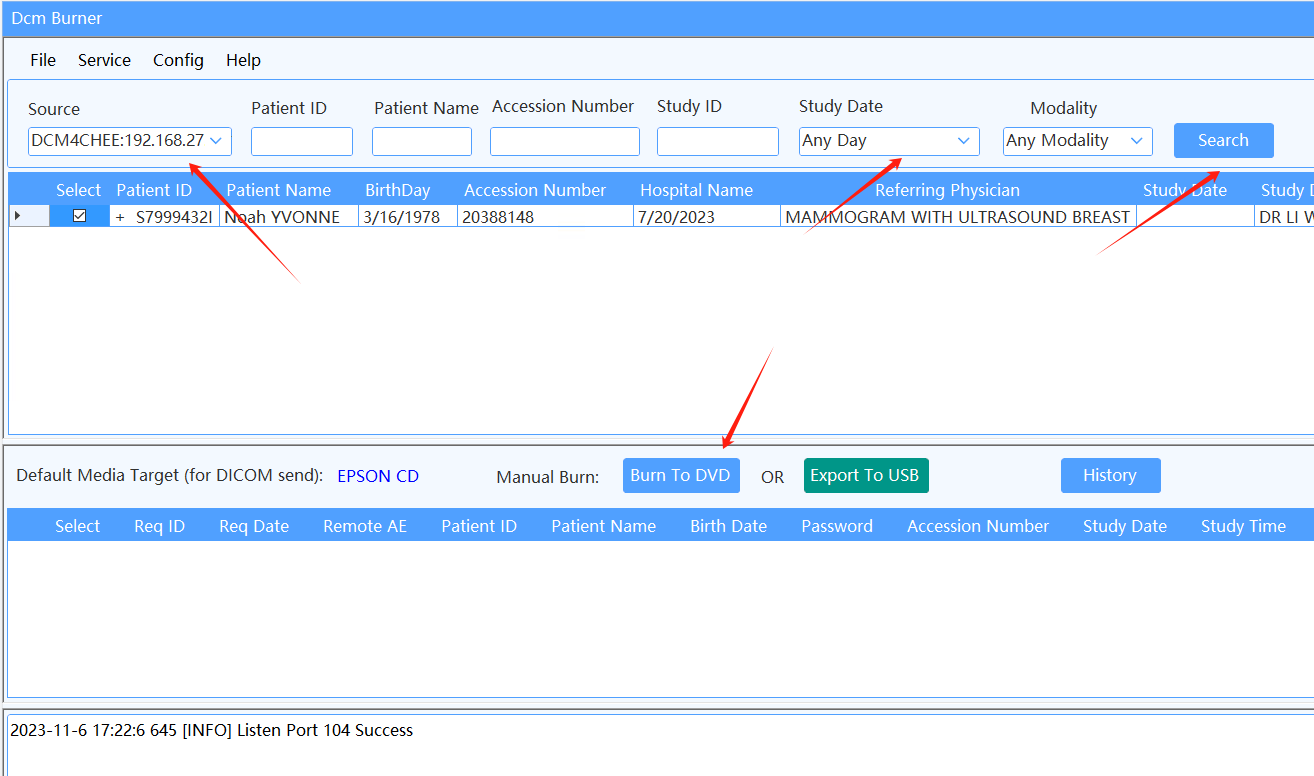
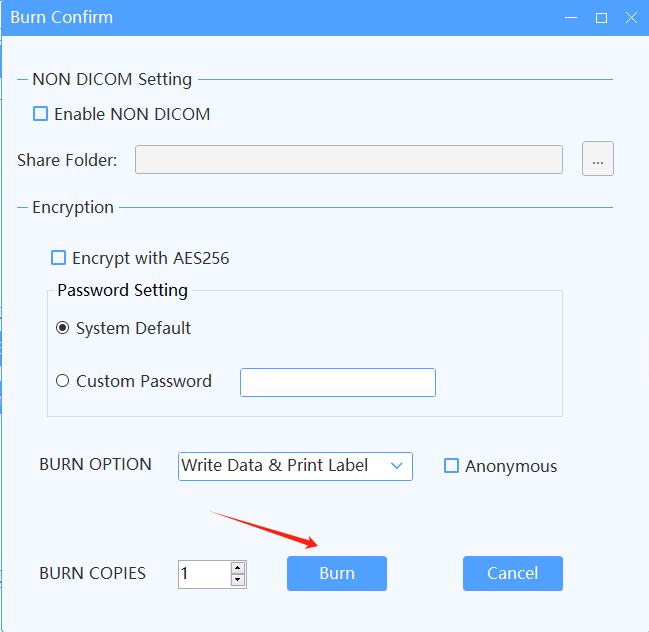
2.Select the Study Row you wish to burn, then click the Burn To DVD button.
A confirmation screen will appear, and upon confirming, the task will begin processing.
The task status will change to IN PROCESS. Once the task is processed, EPSON will automatically detect the new task and start burning.
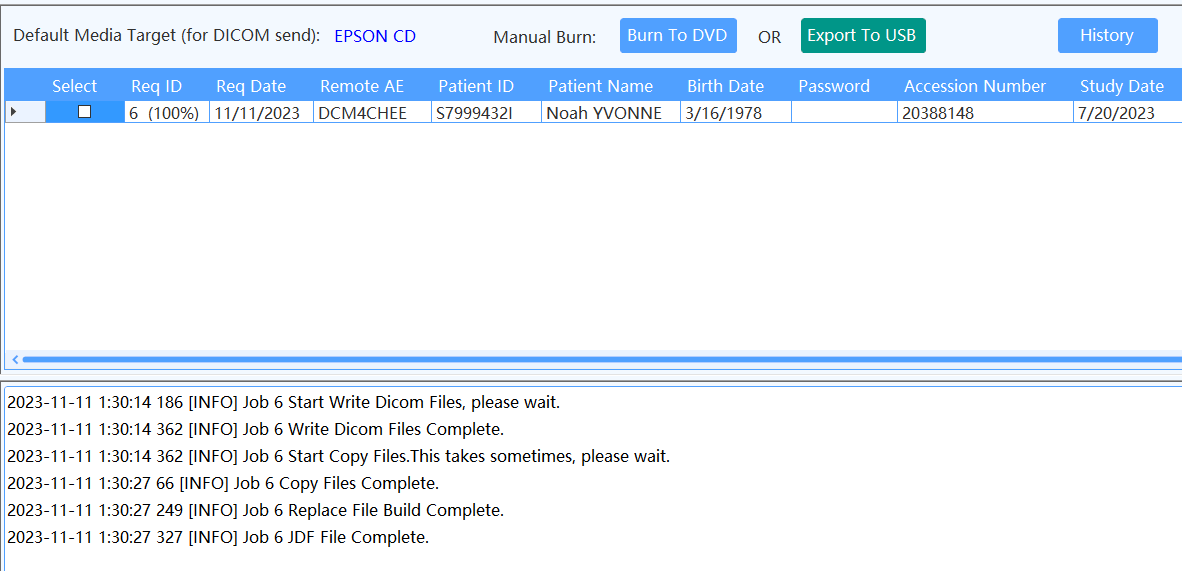
If burning does not occur, please check that the Job Folder Path in the Setting dialog under Media Config matches the monitoring folder in EPSON TD Bridge.